I’ve helped hundreds of homeowners turn their cluttered spaces into homes that actually work for them.
You’re probably tired of scrolling through design inspiration that looks great but falls apart the moment real life happens. Or maybe you’ve tried organizing systems that lasted about a week.
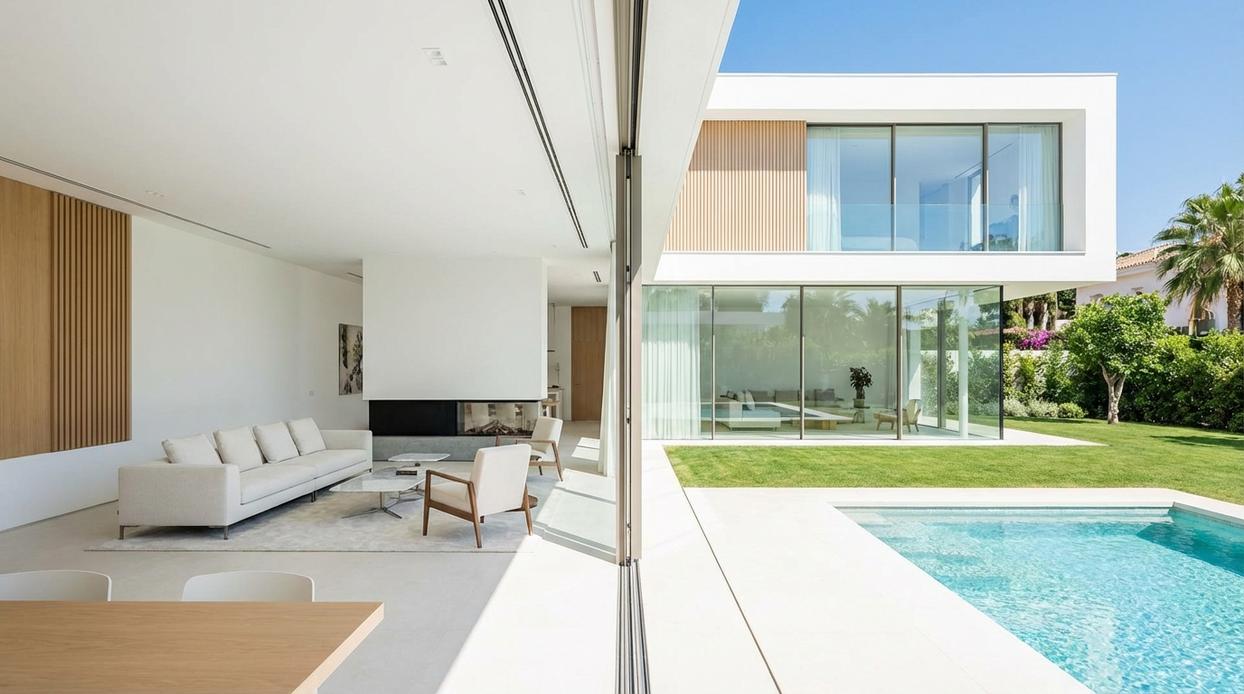
Here’s what I know: a pristine home isn’t about perfection. It’s about creating a space that looks good and functions even better.
I’ve spent years figuring out how to blend style with smart systems and practical organization. Not the kind that requires a full renovation. The kind you can actually do.
This guide walks you through livpristhome house tutorials by livingpristine that cover everything from décor choices to home automation. Real methods that work in real homes.
We’re talking about spaces that stay organized without constant effort. Rooms that adapt to how you actually live. Technology that makes your life easier instead of more complicated.
You’ll get step-by-step instructions you can follow. No guesswork.
Whether you’re starting from scratch or fixing what’s not working, these tutorials will show you exactly what to do.
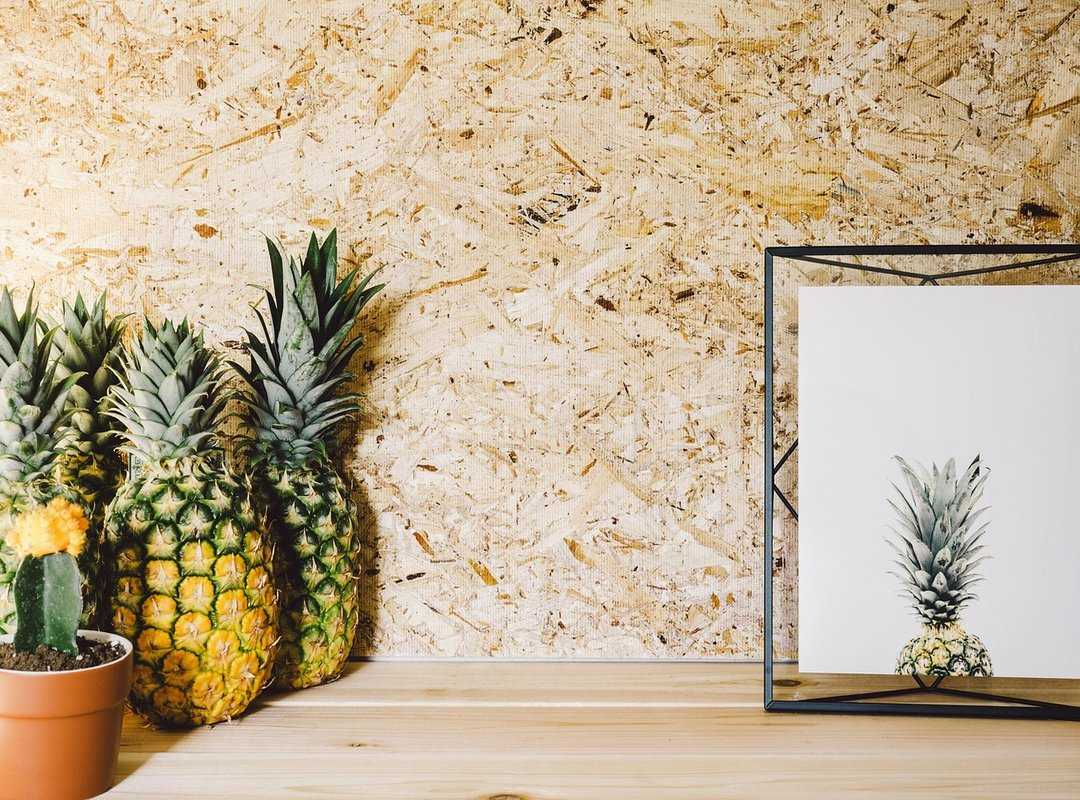
Tutorial 1: Mastering the Principles of Pristine Décor
Think of pristine design like a well-edited closet.
You know that feeling when you finally clear out all the stuff you never wear? When you can actually see what you own and everything has its place? That’s what we’re going for here.
The pristine look isn’t about stripping a room down to nothing. It’s about making sure every single thing in your space earns its spot.
I start with what I call the foundation layer. Clean lines and natural light do most of the heavy work. You want furniture that doesn’t fight for attention and windows that aren’t buried under heavy treatments.
Here’s where most people mess up though.
They think minimalist means cold. They strip everything out and wonder why their home feels like a doctor’s office waiting room.
The secret is in your color palette. Pick a neutral base first. I’m talking whites, soft grays, or warm beiges. That’s your canvas. Then you layer in two or three accent colors that actually talk to each other. Maybe a deep charcoal with touches of sage green. Or cream with rust and navy.
The Livpristhome house tutorials by livingpristine break this down room by room if you want to see it in action.
Now comes the fun part.
Every room needs one statement piece. Think of it like the lead singer in a band. Everything else supports it but doesn’t compete with it. Could be a sculptural chair, an oversized piece of art, or even a unique light fixture.
But here’s what separates good pristine design from great.
Texture layering. This is where warmth sneaks in. You mix warm woods with soft linens. Add brushed metals next to natural stone. Each material brings its own personality without cluttering the visual field.
It’s like cooking with salt. You need it in different forms throughout the dish to make everything come alive.
Tutorial 2: Reclaiming Your Space with Functional Hacks
Most people think they need more square footage.
They look around their apartment or house and decide the problem is size. But I’ve seen 600-square-foot spaces that feel open and 2,000-square-foot homes that feel cramped.
The difference? How you use the space you already have.
Some designers will tell you to just buy new furniture. Others say you need a complete renovation. And sure, those approaches work if you’ve got unlimited cash and time.
But what if you don’t?
What if you just need your living room to stop feeling like a storage unit and start feeling like a place you actually want to be?
That’s where functional hacks come in. I’m talking about simple changes that make a real difference without requiring a second mortgage.
Let me walk you through four methods I use all the time. You can pick one or use them all together. Either way, you’ll end up with more usable space than you started with.
The Vertical Space Principle
Here’s what nobody tells you about small spaces.
You’re probably ignoring about 40% of your room. That’s the space between your head and the ceiling that just sits there doing nothing.
Floating shelves change that. So do wall-mounted organizers.
The trick is installation. You want them high enough to draw your eye up but low enough to actually use. I usually go for about 18 inches above whatever furniture sits below (like a desk or couch).
Start with one wall. Pick the spot that makes the most sense for what you need to store. Books, plants, kitchen supplies. Whatever’s currently taking up your floor or counter space.
You’ll need a stud finder, a level, and the right anchors for your wall type. Drywall anchors vs. mounting directly into studs makes a bigger difference than most people realize.
Once they’re up, style them with intention. Don’t just cram stuff up there. Mix heights and textures so it looks planned, not desperate.
Guide to Multi-Functional Furniture
This is where the ottoman vs. coffee table debate gets interesting.
A regular coffee table just sits there. An ottoman with hidden storage? That’s seating, a footrest, storage, and sometimes a coffee table all in one piece.
Same goes for desks. A standard desk takes up space whether you’re using it or not. A wall-mounted fold-down desk disappears when you’re done working.
Here’s how I decide what to buy.
First, I list what I actually need in a room. Not what looks good in a magazine. What I use every single day.
Then I look for furniture that covers at least two of those needs. A dining table that extends when guests come over but stays compact the rest of the time. A bed frame with drawers underneath instead of a separate dresser.
The livpristhome house tutorials by livingpristine break this down room by room if you want more specific examples.
The key is being honest about your habits. If you never have guests, you don’t need an expandable table. If you work from home five days a week, invest in a real desk instead of trying to make a convertible piece work.
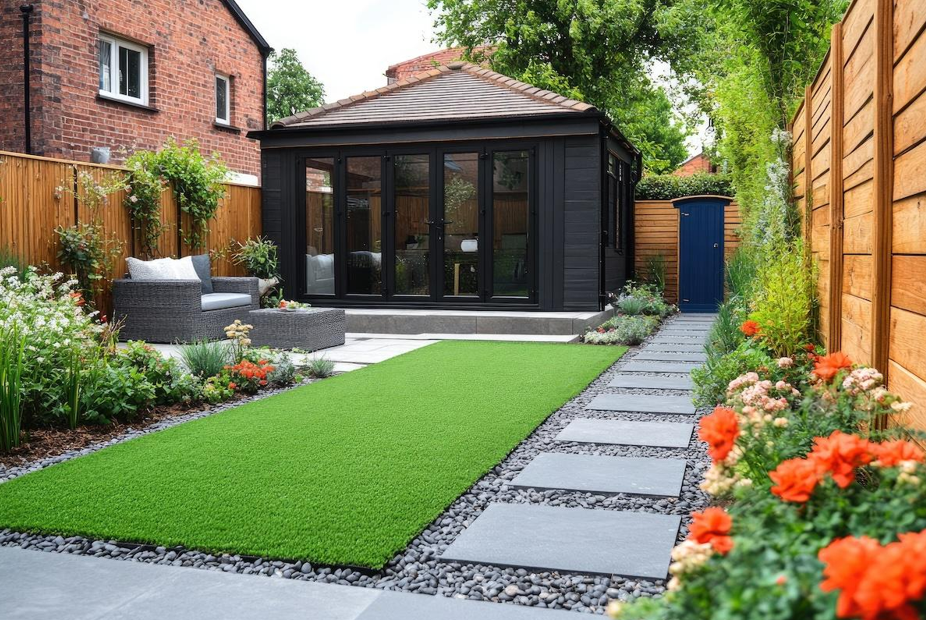
The Zoning Method for Open-Plan Living
Open floor plans sound great until you realize your bedroom is also your office is also your dining room.
That’s when you need zones. Separate areas that tell your brain what to do in each spot.
Rugs are the easiest way to start. A rug under your dining table creates a clear eating zone. Another rug in your living area defines where you relax.
But furniture placement matters just as much. I use the back of my couch as a divider between my living space and workspace. It’s not a wall, but it creates a visual break.
Lighting seals the deal. A floor lamp next to your reading chair makes that corner feel different from the overhead light you use when cooking.
The mistake people make? Trying to separate everything. You don’t need hard boundaries. You just need enough definition that each area feels like it has a purpose.
Quick-Start Decluttering
None of this works if you’re drowning in stuff.
The One-In, One-Out rule is simple. Every time you bring something new into your space, something old has to leave.
New shirt? Donate an old one. New book? Pass one along to a friend.
It sounds restrictive until you realize it just keeps things balanced. You’re not getting rid of everything you own. You’re just preventing the slow creep of accumulation that makes spaces feel smaller over time.
I keep a donation box in my closet. When it’s full, it goes. No overthinking, no second-guessing.
Start with one category. Clothes are usually easiest. Then move to books, kitchen gadgets, whatever you’ve got too much of.
The goal isn’t perfection. It’s breathing room.
Tutorial 3: Integrating Smart Home Technology Seamlessly
You don’t need to rip apart your walls to get a smart home.
I started with a $15 smart plug and a light bulb. That’s it. This connects directly to what I discuss in How to Deep Clean Plank Flooring Livpristhome.
Within a week, my coffee maker turned on before I woke up and my living room lights adjusted themselves at sunset. No electrician. No complicated setup.
Your First Smart Home Project
Here’s what actually works for beginners.
Start with smart plugs. Plug them into any outlet and suddenly that dumb lamp becomes smart. According to a 2023 Parks Associates study, 67% of smart home users started with either smart plugs or bulbs because they require zero installation skills.
I recommend grabbing two or three smart bulbs for your most-used rooms. Then add a smart speaker (Google Home or Amazon Echo work fine).
That’s your foundation. You can control everything from your phone or just use your voice.
Tutorial on Creating ‘Scenes’
Scenes are where things get interesting.
Think of them as shortcuts that control multiple devices at once. I’ll walk you through setting up a Movie Night scene because it’s simple and you’ll actually use it.
Open your smart home app. Tap Create Scene or Routine (depends on your platform). Name it Movie Night.
Add these actions: dim living room lights to 20%, turn off kitchen lights, close smart blinds if you have them.
Set it to trigger when you say “movie time” or tap a button on your phone.
Done. One command now controls three or four devices.
Research from the Consumer Technology Association shows that homes using automated scenes reduce energy consumption by 23% compared to manual control. That’s real money saved just by being lazy in a smart way.
Aesthetics of Automation
Nobody wants their home looking like a tech store exploded.
I hide motion sensors behind picture frames. My in-wall speakers are painted the same color as my walls (you literally can’t see them unless you know where to look). Smart displays sit on shelves like regular photo frames.
The Livpristhome house tutorials by livingpristine cover this well. You want technology that disappears into your space.
White devices for white walls. Black for dark furniture. It sounds obvious but I see people mount bright white sensors on dark wood trim all the time.
Expert Tip: Lighting Design
Smart lighting does MORE than turn on and off.
I use it to wash light across textured walls in my entryway. Makes the whole space feel bigger. In my office, lights shift from cool white (5000K) in the morning to warm white (2700K) after 6pm.
Why? A study published in the Journal of Clinical Sleep Medicine found that reducing blue light exposure two hours before bed improved sleep quality by 58%.
Your body runs on light cues. Smart bulbs let you work with that instead of against it.
Plus you can spotlight artwork or architectural details you want people to notice. I have an exposed brick wall that looks completely different depending on how I angle the light.
Want to go deeper on home maintenance? Check out this guide for removing mold livpristhome for keeping your space healthy while you’re upgrading it.
Start small. Add one device this week. See how it feels. Then build from there.
The Philosophy: Adopting ‘Liv-Inspired’ Living Concepts
Your home should work for you.
Not the other way around.
But most of us end up fighting our spaces every single day. You can’t find what you need. Rooms feel off but you can’t figure out why. You walk in after work and feel more stressed than when you left.
That’s not how it’s supposed to be.
What ‘Liv-Inspired’ Living Actually Means
I’m going to be straight with you. This isn’t about making your house look like a magazine spread.
Liv-Inspired living means your home actively supports how you actually live. It’s about spaces that reduce friction and add genuine value to your daily routine.
Think about it. When was the last time your home made something easier instead of harder?
That’s what we’re after here.
The Home Audit (It Takes 20 Minutes)
Walk through each room with your phone. Ask yourself two questions:
What in this space frustrates me? Write it down. Can’t reach the coffee mugs. Laundry piles up in that corner. The lighting makes you squint.
What makes me feel good here? Maybe it’s that chair by the window. Or how the kitchen counter stays clear.
You’re looking for patterns. The livpristhome house tutorials by livingpristine break this down room by room, but the concept is simple. Find what works and what doesn’t.
Most people skip this step. They buy new stuff hoping it’ll fix things. But if you don’t know what’s broken, you’re just adding more clutter.
How It All Connects
Here’s where people get confused.
They think décor is separate from function. That smart tech is its own category. That organization hacks are just about being neat.
Wrong.
In a Liv-Inspired space, everything connects. Your which vacuum should i buy livpristhome choice affects how often you actually clean. Which affects how the room feels. Which affects your mood when you walk in.
See how that works?
It’s not about perfection. It’s about building a home that supports your actual life.
Begin Your Home’s Transformation Today
You now have the expert tutorials you need to master pristine décor, implement functional space hacks, and integrate smart technology.
The challenge of creating a home that’s both beautiful and effortlessly functional? You just solved it with these structured steps.
Here’s why this works: I focus on principles over fleeting trends. That means you can create a timeless home that actually reflects who you are.
No more copying what you see on Pinterest and hoping it fits your life.
These livpristhome house tutorials by livingpristine give you a framework that adapts to your space and your needs. You’re not following someone else’s vision anymore.
Pick one tutorial from this guide. Start with a single room.
That’s it. That’s your first step.
You don’t need to overhaul your entire house this weekend. You just need to start somewhere and build from there.
The journey to a pristine home begins with one simple, confident step. Take it today.
 Founder & Creative Director
Tavien Veyland has opinions about liv-inspired living concepts. Informed ones, backed by real experience — but opinions nonetheless, and they doesn't try to disguise them as neutral observation. They thinks a lot of what gets written about Liv-Inspired Living Concepts, Smart Home System Integrations, In-Depth Guides is either too cautious to be useful or too confident to be credible, and they's work tends to sit deliberately in the space between those two failure modes.
Reading Tavien's pieces, you get the sense of someone who has thought about this stuff seriously and arrived at actual conclusions — not just collected a range of perspectives and declined to pick one. That can be uncomfortable when they lands on something you disagree with. It's also why the writing is worth engaging with. Tavien isn't interested in telling people what they want to hear. They is interested in telling them what they actually thinks, with enough reasoning behind it that you can push back if you want to. That kind of intellectual honesty is rarer than it should be.
What Tavien is best at is the moment when a familiar topic reveals something unexpected — when the conventional wisdom turns out to be slightly off, or when a small shift in framing changes everything. They finds those moments consistently, which is why they's work tends to generate real discussion rather than just passive agreement.
Founder & Creative Director
Tavien Veyland has opinions about liv-inspired living concepts. Informed ones, backed by real experience — but opinions nonetheless, and they doesn't try to disguise them as neutral observation. They thinks a lot of what gets written about Liv-Inspired Living Concepts, Smart Home System Integrations, In-Depth Guides is either too cautious to be useful or too confident to be credible, and they's work tends to sit deliberately in the space between those two failure modes.
Reading Tavien's pieces, you get the sense of someone who has thought about this stuff seriously and arrived at actual conclusions — not just collected a range of perspectives and declined to pick one. That can be uncomfortable when they lands on something you disagree with. It's also why the writing is worth engaging with. Tavien isn't interested in telling people what they want to hear. They is interested in telling them what they actually thinks, with enough reasoning behind it that you can push back if you want to. That kind of intellectual honesty is rarer than it should be.
What Tavien is best at is the moment when a familiar topic reveals something unexpected — when the conventional wisdom turns out to be slightly off, or when a small shift in framing changes everything. They finds those moments consistently, which is why they's work tends to generate real discussion rather than just passive agreement.