I’ve deep cleaned hundreds of plank floors and I can tell you this: most people are doing it wrong.
You’re probably wiping down your floors every week and wondering why they still look dingy. The problem isn’t how often you clean. It’s that you’re missing the grime hiding in the seams and texture.
Standard mopping just pushes dirt around. Worse, some popular cleaning methods can actually wreck your floors over time.
How to deep clean plank flooring livpristhome the right way means getting into those grooves without damaging the surface. It means knowing which products are safe and which ones will leave a film or cause warping.
I’m going to walk you through a complete system that works on vinyl, laminate, and engineered wood. No harsh chemicals. No guesswork.
This guide covers everything from prep work to long-term maintenance. You’ll learn how to restore that showroom shine and keep it that way.
The methods here are based on proven home maintenance principles that protect your investment while getting real results.
Your floors can look new again. You just need the right approach.
Step 1: Foundational Prep Work for a Deeper Clean
You can’t deep clean what you can’t reach.
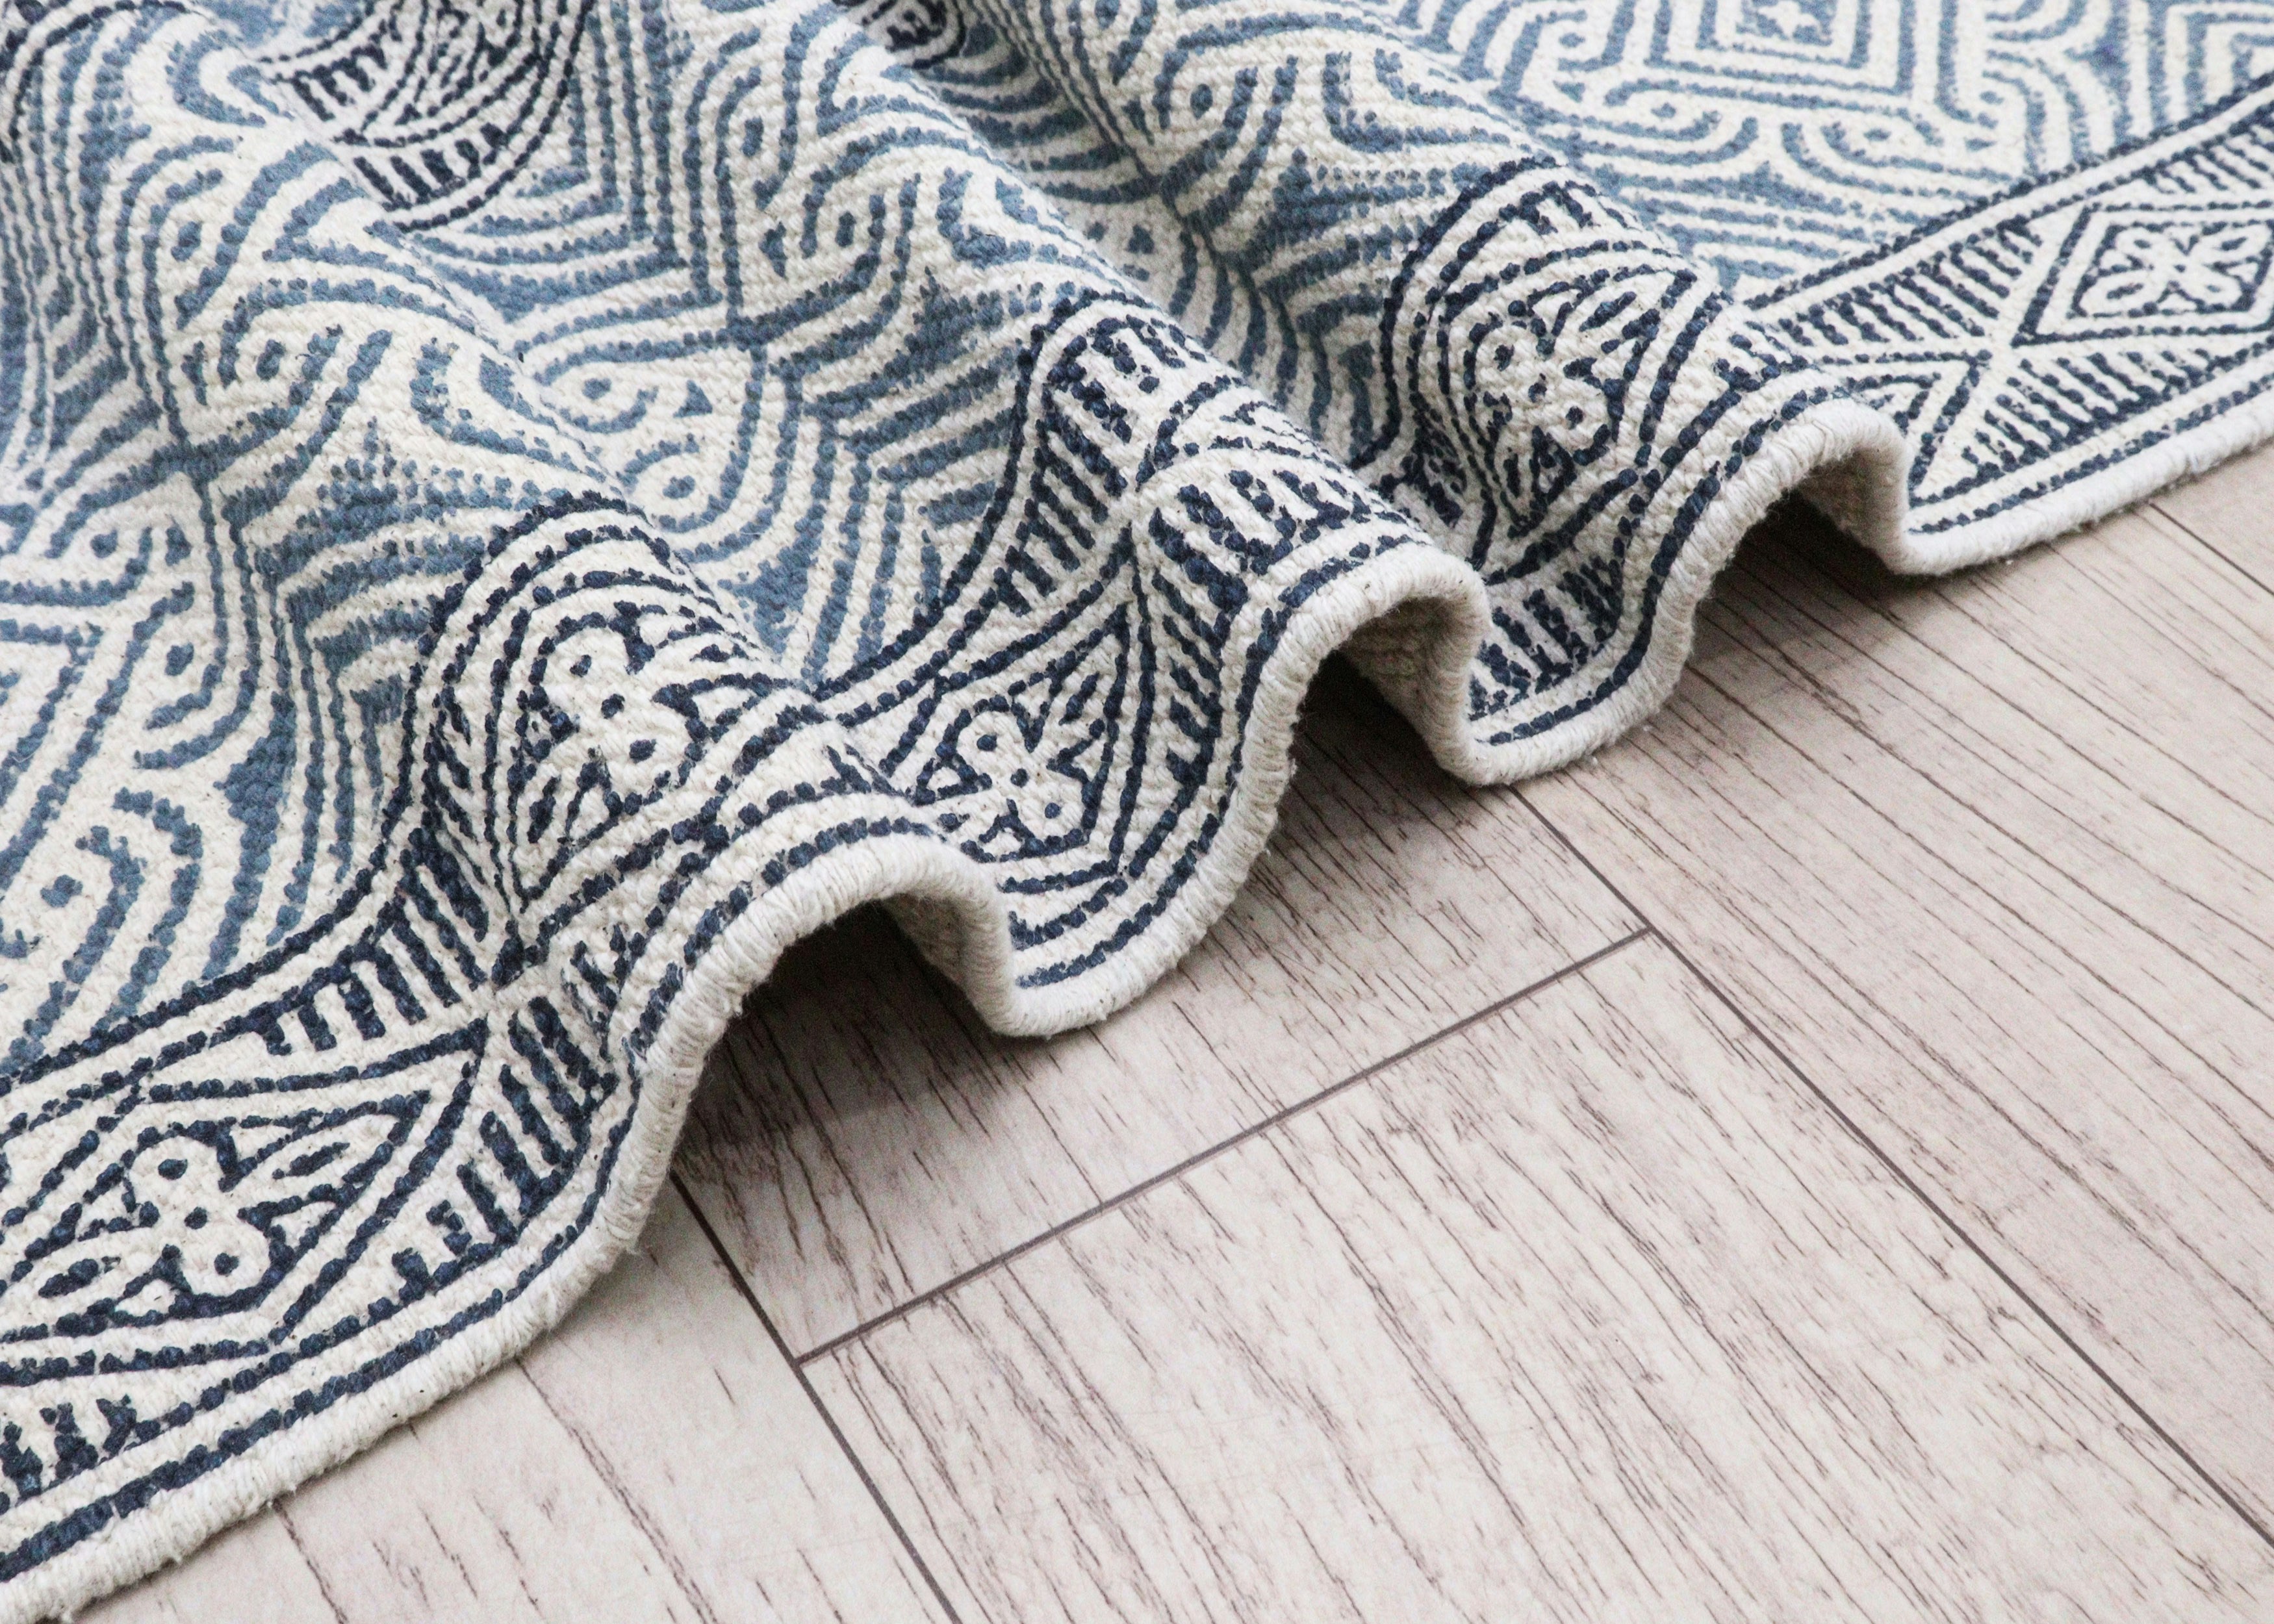
I know it sounds obvious, but clearing the entire area is where most people cut corners. They work around furniture or leave a rug in place because moving everything feels like too much work.
Here’s what happens when you skip this step. You end up with clean patches and dirty edges. The whole floor never really gets done.
Start with a complete clear out. Move furniture to another room. Roll up rugs. Get everything off the floor so you’re working with a blank canvas.
Now comes the two-phase dry removal.
First, use a soft-bristle broom or dust mop to gather the big stuff. Hair, crumbs, visible dirt. This keeps your vacuum from working overtime and prevents you from pushing debris around.
Second, vacuum with a hard floor head. No beater bar. Those rotating brushes might work great on carpet but they’ll scratch plank flooring.
Here’s the part most people miss. Grab your crevice tool and run it along every baseboard and into every corner. That’s where dust builds up and hides. If you skip this, you’ll see it later when you mop (trust me on this one).
Why does this matter?
When you learn how to deep clean plank flooring livpristhome, you realize that dry cleaning first prevents disaster. If you go straight to mopping, all that dust and grit turns into muddy streaks. You end up spreading dirt instead of removing it.
Take the extra ten minutes now. Your floors will thank you later.
Step 2: Selecting the Right Cleaning Solution and Tools
I learned this the hard way when I first moved into my place.
I grabbed what was under the sink (some all-purpose cleaner I’d been using for years) and went to town on my new plank floors. Within a week, I noticed dull spots. Within a month, the finish looked cloudy in high-traffic areas.
Turns out, not all cleaners are created equal when you’re learning how to deep clean plank flooring Livpristhome.
Here’s what you need to know.
Know Your Floor First
LVP has a wear layer that protects the design. Laminate has a similar coating but it’s more sensitive to water. Engineered hardwood is real wood on top, so it reacts differently to moisture.
The cleaner you pick depends on which one you have.
The pH-Neutral Rule
Your floor has a protective layer. Acidic cleaners like vinegar eat away at it over time. Alkaline cleaners like ammonia do the same thing from the other direction.
You want something neutral. Not too harsh either way.
My Go-To DIY Solution
I mix one gallon of warm water with just one or two drops of pH-neutral dish soap. That’s it.
More soap doesn’t mean cleaner floors (I used to think this too). It just means more residue you’ll have to rinse off later.
What Never Touches My Floors
Some things just don’t belong anywhere near planks:
- Steam mops push moisture into the seams
- Oil soaps leave a film that attracts dirt
- Wax or polish creates buildup that dulls the finish
- Abrasive scrubbers scratch the wear layer
I keep these products far away. Same approach I use for carpet maintenance livpristhome, just different tools.
Stick with simple. Your floors will thank you.
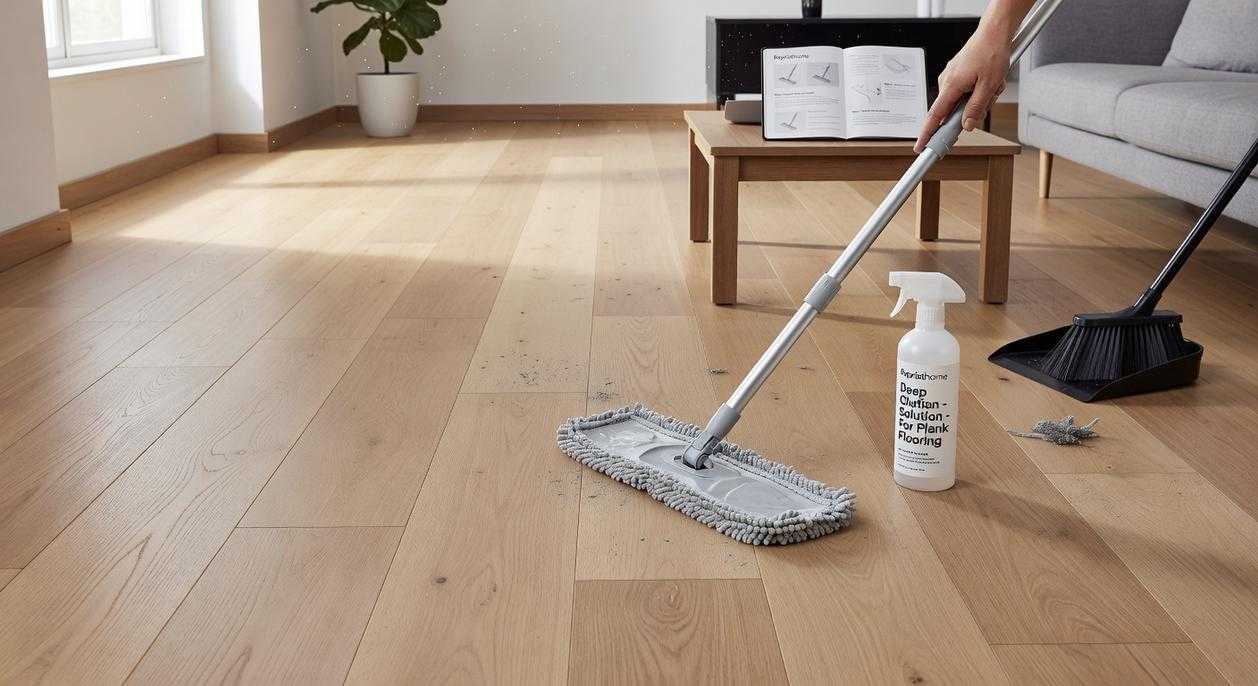
Step 3: The Professional Mopping Method for a Streak-Free Finish
Most guides tell you to grab a mop and get to work.
They skip the part where you actually ruin your floors.
I learned this the hard way. My first attempt at mopping left streaks everywhere and water pooling in the seams. It took three days for those planks to stop feeling spongy underfoot (not a great feeling when you’re wondering if you just voided your warranty).
Here’s what nobody tells you about how to deep clean plank flooring livpristhome style. The mop matters less than the method.
The Two-Bucket System You Actually Need
Set up two buckets before you start.
Bucket 1 holds your cleaning solution. Bucket 2 is for rinsing out the dirty mop between passes. This is something I break down further in Livpristhome House Guide From Livingpristine.
Why bother with two? Because every time you dip a dirty mop back into clean solution, you’re just spreading grime around. You’re not cleaning at that point. You’re redistributing dirt in a thin layer of expensive floor cleaner.
Some people say this is overkill for home cleaning. They argue that one bucket works fine if you change the water halfway through.
But think about it. You’re dragging that mop across the dirtiest parts of your floor and then dunking it right back into the same water you’re using to “clean” the next section. That doesn’t add up.
Why Your Mop Type Actually Matters
Ditch the string mop.
A flat-head microfiber mop changes everything. It holds less water, which means less risk of damage. The fibers trap dirt instead of pushing it around. And you won’t get those annoying streaks that catch the light at every angle.
String mops and sponge mops dump too much water on your floor. Period.
The Damp Not Soaking Rule
This is where most people mess up.
Wring out your mop until it’s barely damp to the touch. If water drips when you lift it, you’ve got too much.
Excess water seeps into seams. It makes planks swell. Over time, you’ll see peeling and warping that no amount of touch-up work will fix.
I know it feels wrong. A damp mop doesn’t seem like it should clean anything. But plank flooring isn’t like tile. It can’t handle moisture sitting on the surface.
The Technique That Prevents Streaks
Work in the same direction as your planks are laid.
Break your floor into small sections. I do about 4×4 feet at a time. Start at the farthest point from your exit so you’re not walking on wet floors (unless you enjoy leaving footprints everywhere).
Here’s the process:
- Dip your mop in the cleaning solution
- Wring it out in the rinse bucket until just damp
- Mop one section following the plank direction
- Rinse the mop head in bucket 2
- Move to the next section
Don’t go back over sections you’ve already done. That’s how you get streaks. This connects directly to what I discuss in Livpristhome House Tutorials by Livingpristine.
The Final Pass Nobody Mentions
Want a truly clean finish?
Swap in a fresh microfiber pad. Dampen it with plain water only. Go over the entire floor one more time.
This picks up any cleaner residue that might dry into a hazy film. It’s optional, but it makes a difference if you’ve got dark planks or a lot of natural light coming in.
Most cleaning guides skip this step. They assume the cleaner will just evaporate cleanly. Sometimes it does. Sometimes you’re left with a dull film that builds up over multiple cleanings.
One extra pass takes five minutes. It’s worth it.
Step 4: Tackling Tough Spots and Implementing a Maintenance Routine
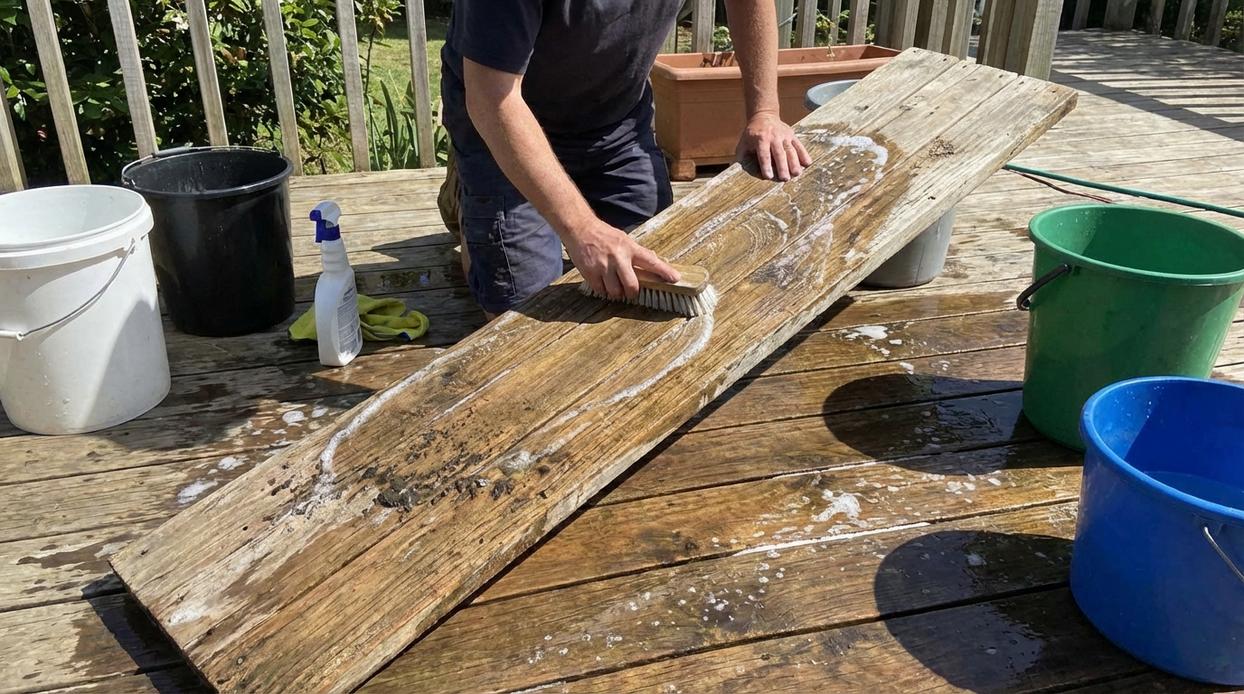
You’ve got the basics down. But what about those stubborn marks that won’t budge?
I’ll be honest. Some stains are just tricky. I’ve tested dozens of methods and not all of them work the way people claim they do.
But here’s what I know does work.
For scuff marks, grab a tennis ball. Sounds weird but it actually works. Just rub it gently over the mark and watch it disappear. A microfiber cloth works too if you don’t have a tennis ball lying around.
For sticky or greasy spots, put a small amount of isopropyl alcohol on a cloth. Dab it on the spot and wipe clean. Don’t soak the area (water and planks don’t mix well).
Now here’s where most people mess up.
They focus all their energy on cleaning and zero energy on prevention. Then they wonder why their floors keep getting damaged.
Prevention matters more than you think.
Put good doormats at every entrance. Not the cheap ones that slide around. Get ones that actually trap dirt and moisture.
Stick felt pads under all your furniture legs. Chairs, tables, couches. Everything. This one step will save you from so many scratches.
Some people say you need to deep clean weekly. Others claim monthly is fine. Honestly? It depends on your household. Kids and pets mean more frequent cleaning. Just you and a partner? You can probably stretch it.
Here’s a simple schedule that works for most people:
Daily: Quick sweep or vacuum of high traffic areas. Takes five minutes.
Weekly: Damp mop all your plank flooring using what detergents should i use livpristhome methods.
Monthly: Deep clean. Move furniture and hit those edges and corners you normally skip.
Adjust based on what you see. If your floors look fine after two weeks, skip a week. If they look rough after three days, clean more often.
That’s how to deep clean plank flooring livpristhome style. Simple routines beat complicated systems every time.
Maintaining the Beauty of Your Plank Flooring
You now have a complete system for cleaning your plank floors.
This isn’t just about wiping up spills. You’ve learned how to deep clean plank flooring livpristhome style with a method that actually works.
I’ve seen too many people ruin their floors with harsh chemicals and rough techniques. Their planks end up dull and damaged within a few years.
You don’t have to make those mistakes.
This approach replaces all that with something better. A routine that keeps your floors looking new without the guesswork.
Your floors are an investment. They set the tone for your entire space.
Here’s what matters now: Make this routine part of your regular maintenance. Start with the gentle methods and only move to deeper cleaning when you need it. Your floors will thank you.
The difference between floors that last decades and ones that need replacing comes down to how you treat them. You’ve got the knowledge now.
Use it to protect what you’ve built and keep your home looking the way you want it to look.
 Founder & Creative Director
Tavien Veyland has opinions about liv-inspired living concepts. Informed ones, backed by real experience — but opinions nonetheless, and they doesn't try to disguise them as neutral observation. They thinks a lot of what gets written about Liv-Inspired Living Concepts, Smart Home System Integrations, In-Depth Guides is either too cautious to be useful or too confident to be credible, and they's work tends to sit deliberately in the space between those two failure modes.
Reading Tavien's pieces, you get the sense of someone who has thought about this stuff seriously and arrived at actual conclusions — not just collected a range of perspectives and declined to pick one. That can be uncomfortable when they lands on something you disagree with. It's also why the writing is worth engaging with. Tavien isn't interested in telling people what they want to hear. They is interested in telling them what they actually thinks, with enough reasoning behind it that you can push back if you want to. That kind of intellectual honesty is rarer than it should be.
What Tavien is best at is the moment when a familiar topic reveals something unexpected — when the conventional wisdom turns out to be slightly off, or when a small shift in framing changes everything. They finds those moments consistently, which is why they's work tends to generate real discussion rather than just passive agreement.
Founder & Creative Director
Tavien Veyland has opinions about liv-inspired living concepts. Informed ones, backed by real experience — but opinions nonetheless, and they doesn't try to disguise them as neutral observation. They thinks a lot of what gets written about Liv-Inspired Living Concepts, Smart Home System Integrations, In-Depth Guides is either too cautious to be useful or too confident to be credible, and they's work tends to sit deliberately in the space between those two failure modes.
Reading Tavien's pieces, you get the sense of someone who has thought about this stuff seriously and arrived at actual conclusions — not just collected a range of perspectives and declined to pick one. That can be uncomfortable when they lands on something you disagree with. It's also why the writing is worth engaging with. Tavien isn't interested in telling people what they want to hear. They is interested in telling them what they actually thinks, with enough reasoning behind it that you can push back if you want to. That kind of intellectual honesty is rarer than it should be.
What Tavien is best at is the moment when a familiar topic reveals something unexpected — when the conventional wisdom turns out to be slightly off, or when a small shift in framing changes everything. They finds those moments consistently, which is why they's work tends to generate real discussion rather than just passive agreement.